- Home
- Anti-Slip Product
- Anti-Slip Pipe & Cable Covers
Anti-Slip Pipe & Cable Covers
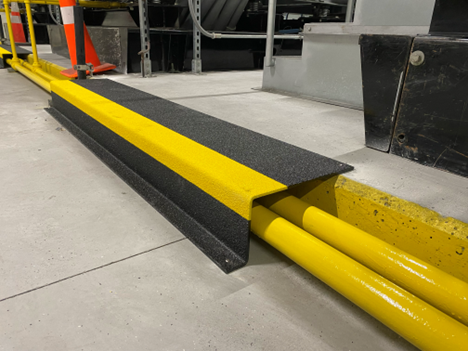
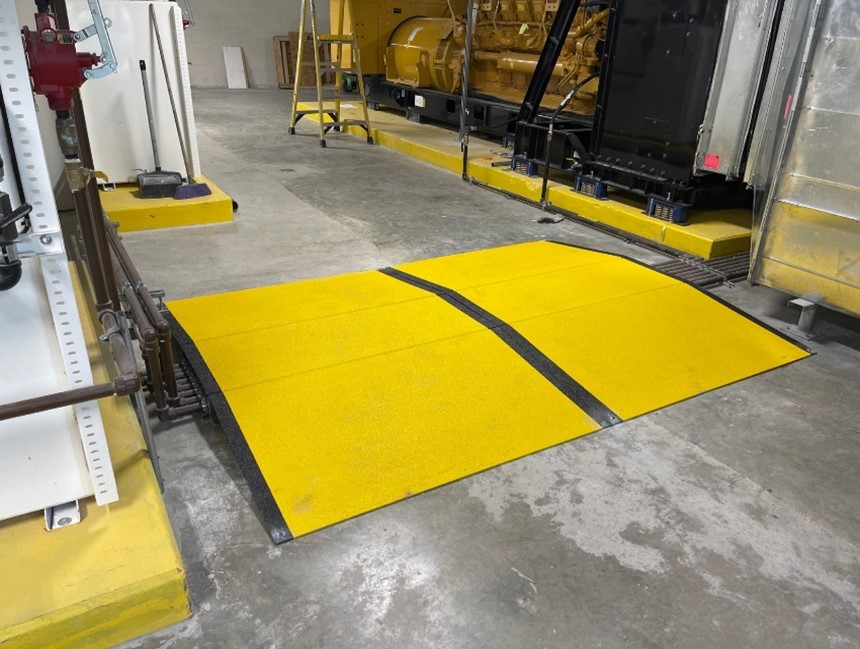
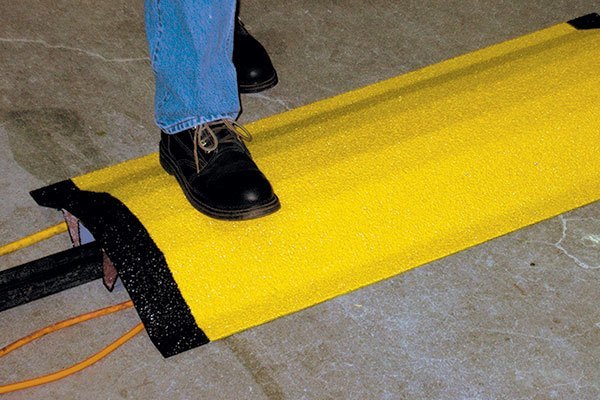
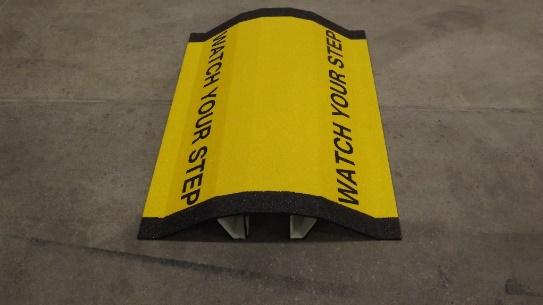
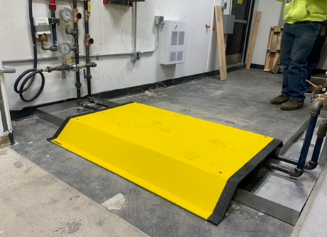
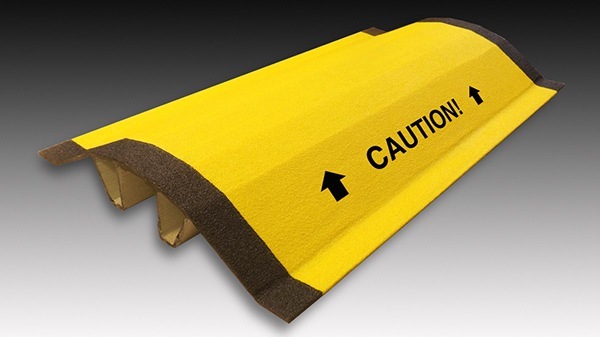
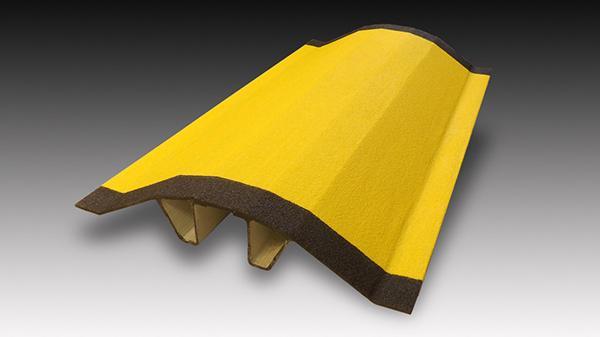
Eliminate slips, trips, and falls caused by exposed wires, cables, pipes, and conduit with Safeguard Hi-Traction® pipe & cable covers. This rugged solution provides a safe, non-slip walkway for foot traffic over these areas. Our pipe & cable covers are also:
- Designed with a durable anti-slip surface
- Lightweight and cost-effective
- Impact- and corrosion-resistant
Key Product Features
Quick & Easy to Install
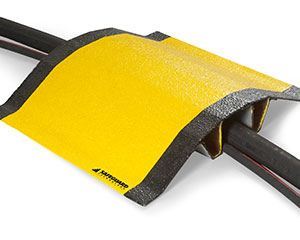
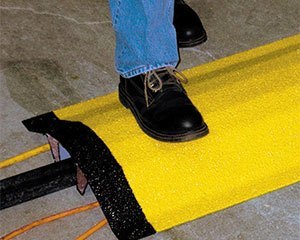
Choose Standard or Custom
Product Specifications
THIS CONTENT IS DYNAMICALLY ADDED WITH JAVASCRIPT.
If you have Javascript turned off, this page won’t load as intended.
THIS CONTENT IS DYNAMICALLY ADDED WITH JAVASCRIPT.
If you have Javascript turned off, this page won’t load as intended.
THIS CONTENT IS DYNAMICALLY ADDED WITH JAVASCRIPT.
If you have Javascript turned off, this page won’t load as intended.
THIS CONTENT IS DYNAMICALLY ADDED WITH JAVASCRIPT.
If you have Javascript turned off, this page won’t load as intended.
THIS CONTENT IS DYNAMICALLY ADDED WITH JAVASCRIPT.
If you have Javascript turned off, this page won’t load as intended.
THIS CONTENT IS DYNAMICALLY ADDED WITH JAVASCRIPT.
If you have Javascript turned off, this page won’t load as intended.
THIS CONTENT IS DYNAMICALLY ADDED WITH JAVASCRIPT.
If you have Javascript turned off, this page won’t load as intended.
THIS CONTENT IS DYNAMICALLY ADDED WITH JAVASCRIPT.
If you have Javascript turned off, this page won’t load as intended.
THIS CONTENT IS DYNAMICALLY ADDED WITH JAVASCRIPT.
If you have Javascript turned off, this page won’t load as intended.
THIS CONTENT IS DYNAMICALLY ADDED WITH JAVASCRIPT.
If you have Javascript turned off, this page won’t load as intended.
THIS CONTENT IS DYNAMICALLY ADDED WITH JAVASCRIPT.
If you have Javascript turned off, this page won’t load as intended.
THIS CONTENT IS DYNAMICALLY ADDED WITH JAVASCRIPT.
If you have Javascript turned off, this page won’t load as intended.
THIS CONTENT IS DYNAMICALLY ADDED WITH JAVASCRIPT.
If you have Javascript turned off, this page won’t load as intended.
Base Materials
- ⅛” pultruded fiberglass (FRP) is lightweight, impact-resistant, and cost-effective.
- Heavy-duty aluminum, 60/61 T marine grade is thick, rigid, and durable.
Standard and Custom Sizes
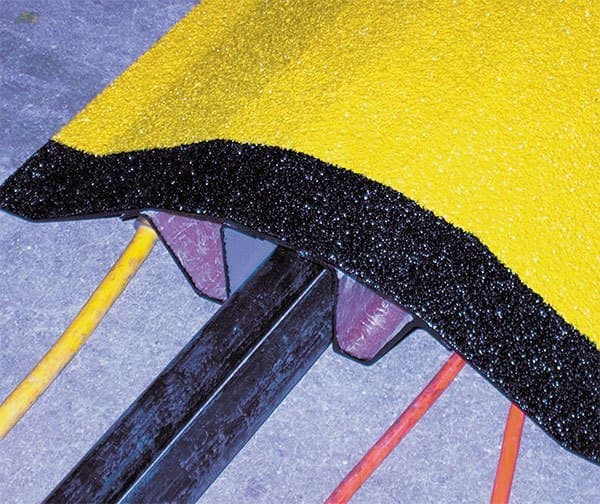
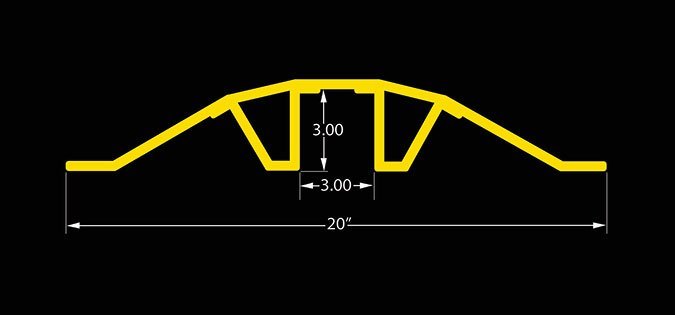
Hi-Traction® pipe & cable covers are sized in 20″ widths, while the channel under the cover spans 2 ⅞” high and wide. Options include:
- Standard 24″, 36″, 48″, and 60″ lengths
- Custom lengths are available to a maximum of 10′
- Heavy-duty aluminum options
Grit Options
Our pipe & cable covers are available in a range of grit options, including:
- Super-coarse (Xtreme™)
- Extra-coarse (offshore)
- Coarse (industrial)
- Fine (commercial)
- Extra-fine (residential)
- Super-fine (barefoot)
Color Options
Safeguard Hi-Traction® pipe & cable covers are available in almost any color, including standard and safety colors, premium colors, glow-in-the-dark, and two-tone configurations.
Add Safety Messages and Logos
Warning messages, text, and logo graphics can be embedded into Safeguard pipe & cable covers to last for the life of the product. Combined with photoluminescent HiGlo-Traction® colors as background, the message is visible after dark and during power outages to provide safe egress/ingress during emergency evacuations.
How to Place an Order
Our pipe & cable covers are custom manufactured in the USA to meet your application requirements.
Contact us to request a quote, consultation, or sample. To place an order, please call 1-800-989-1695 or check availability in our online store.
How to Install
Pipe & cable covers are easy to install over wood, steel, and concrete. Follow the steps below for the appropriate substrate and method.
-
- Prior to drilling, determine placement for the cover.
- If your covers have pre-drilled holes, skip to step #7.
- If your pipe & cable cover does not have pre-drilled holes, position the cover over the substrate, pipe and/or cable, and determine the desired location for the screws.
- We recommend that pre-drilled holes be at least 1” in from the edge of the covers to avoid fracturing the fiberglass.
- Once the position of the drill holes is determined, mark the underside of the cover with a dark permanent marker.
- Using the appropriate-sized drill bit from the drill bit chart, pre-drill the holes into the underside of your cover using the markings you created.
| Screw/Bolt Size | Drill bit size required |
|---|---|
| #8 x 1 in screw | 7/32 in diameter drill bit |
| #10 x 1-1/2 in screw | 9/32 in diameter drill bit |
| 1/4 in bolt | 3/8 in diameter drill bit |
-
- Re-align your pipe & cable cover with the pre-drilled holes in the precise position you want the cover installed.
- To create pilot holes, place a marking device in the pre-drilled hole and mark the substrate accordingly.
- Remove the pipe & cable cover.
- Now drill the pilot holes into the marked area on the substrate to the appropriate depth indicated in the pilot hole depth instructions.
Pilot Hole Depth
- Concrete
- Drill to the depth of the plastic sleeve used with the masonry fastener. NOTE: If using Tapcon®, follow the manufacturer’s recommended instructions.
- Steel
- Drill all the way through the steel or as deep as possible.
- Wood
- Not necessary. If preferred, drill just to the depth of the screw being used.
- Steel/Fiberglass Grating
- N/A
-
- Using a brush, broom, or shop vacuum, remove the dust and debris caused by the drilling.
- If using masonry fasteners, insert the plastic sleeve into the pilot hole once the surface is clear of dust and debris. The top of the insert sleeve should sit flush with the top of the pilot hole.
- Place the pipe & cable cover over the substrate, taking care to align the pre-drilled holes precisely with the pilot holes.
- Insert the appropriate screw and turn until a tight fit/seal is achieved. Do not over-torque.
ATTENTION: Reduce the speed of your pneumatic air tools to prevent thread galling and bolt snapping while installing saddle clips. We recommend using a Torx screwdriver when installing to avoid head stripping. The use of a thread lubricant is also recommended to reduce heat and assist in the smooth installation of this product.
